
This buttermilk fried chicken recipe delivers juicy, flavorful chicken with a crisp golden crust inspired by classic Ad Hoc technique. Buttermilk tenderizes the meat while seasoned dredging creates exceptional texture.
This buttermilk fried chicken recipe balances rich flavor, proper frying technique, and irresistible crunch for a restaurant-quality result at home.
How to Make Buttermilk Fried Chicken
To make buttermilk fried chicken, begin by marinating the chicken thoroughly. The buttermilk tenderizes the meat while adding subtle tang and moisture.
Marinating and Seasoning the Chicken
Proper seasoning and dredging are essential for flavor and texture. Layering seasoning into both the marinade and flour mixture ensures every bite remains balanced and savory.
Frying for Crispy Perfection
Fry the chicken carefully at a controlled temperature to create a deeply golden crust without overcooking the interior. Proper heat management delivers the crisp exterior and juicy center that define excellent fried chicken.
Serve buttermilk fried chicken hot with classic sides like biscuits, slaw, or mashed potatoes. This recipe also works beautifully for gatherings, comfort meals, or elevated weekend cooking.
Thomas Keller’s Ad Hoc Fried Chicken
Equipment
- 1 Large fry pot or Deep Fryer with basket
- 1 baking tray with wire rack
- 1 12Qt Storage container (Cambro)
- 1 Stainless steel mesh wire scoop
- 3 Breading Dishes
Ingredients
Chicken Brine
- 3 ea lemons halved
- 12 ea bay leaves
- ½ bunch flat-leaf parsley (2 ounces )
- ¼ cup clover honey
- 1 head garlic cut in half with skin still on
- 2 tbsp black peppercorns
- 1 cup Diamond Crystal kosher salt
- 1 gallon water
- 2 2 ½- to 3-pound chickens
Dredging and Frying:
- 2 – 3 liters Peanut or canola oil for deep-frying
- 2 ½ cups buttermilk
- Kosher salt and freshly ground black pepper
Coating:
- 3 cups all-purpose flour
- 2 tbsp garlic powder
- 2 tbsp onion powder
- 2 tsp paprika
- 2 tsp cayenne
- 2 tsp kosher salt
- ½ tsp freshly ground black pepper
To Finish:
- Ground fleur de sel or fine sea salt
- Rosemary and thyme sprigs for garnish flash fried
Instructions
- To make the brine: Combine all the ingredients in a large pot, cover, and bring to a boil. Boil for 1 minute, stirring to dissolve the salt. Remove from the heat and cool completely, then chill before using. The brine can be refrigerated for up to 3 days.
- Cut each chicken into 10 pieces: 2 legs, 2 thighs, 4 breast quarters, and 2 wings. Pour the brine into a container large enough to hold the chicken pieces, add in the chicken, and refrigerate for 12 hours (no longer, or the chicken may become too salty).
- Remove the chicken from the brine (discard the brine) and rinse under cold water, removing any herbs or spices sticking to the skin. Pat dry with paper towels, or let air-dry. Let rest at room temperature for 1 ½ hours, or until it comes to room temperature.
- If you have two large pots (about 6 inches deep) and a lot of oil, you can cook the dark and white meat at the same time; if not, cook the dark meat first, then turn up the heat and cook the white meat. No matter what size pot you have, the oil should not come more than one-third of the way up the sides of the pot. Fill the pot with at least 2 inches of peanut oil and heat to 320°F. Set a cooling rack over a baking sheet. Line a second baking sheet with parchment paper.
- Meanwhile, combine all the coating ingredients in a large bowl. Transfer half the coating to a second large bowl. Pour the buttermilk into a third bowl and season with salt and pepper. Set up a dipping station: the chicken pieces, one bowl of coating, the bowl of buttermilk, the second bowl of coating, and the parchment-lined baking sheet.
- Just before frying, dip the chicken thighs into the first bowl of coating, turning to coat and patting off the excess; dip them into the buttermilk, allowing the excess to run back into the bowl; then dip them into the second bowl of coating. Transfer to the parchment-lined pan.
- Carefully lower the thighs into the hot oil. Adjust the heat as necessary to return the oil to the proper temperature. Fry for 2 minutes, then carefully move the chicken pieces around in the oil and continue to fry, monitoring the oil temperature and turning the pieces as necessary for even cooking, for 11 to 12 minutes, until the chicken is a deep golden brown, cooked through, and very crisp. Meanwhile, coat the chicken drumsticks and transfer to the parchment-lined baking sheet.
- Transfer the cooked thighs to the cooling rack skin-side-up and let rest while you fry the remaining chicken. (Putting the pieces skin-side-up will allow excess fat to drain, whereas leaving them skin-side-down could trap some of the fat.) Make sure that the oil is at the correct temperature, and cook the chicken drumsticks. When the drumsticks are done, lean them meat-side-up against the thighs to drain, then sprinkle the chicken with fine sea salt.
- Turn up the heat and heat the oil to 340°F. Meanwhile, coat the chicken breasts and wings. Carefully lower the chicken breasts into the hot oil and fry for 7 minutes, or until golden brown, cooked through, and crisp. Transfer to the rack, sprinkle with salt, and turn skin side up. Cook the wings for 6 minutes, or until golden brown and cooked through. Transfer the wings to the rack and turn off the heat.
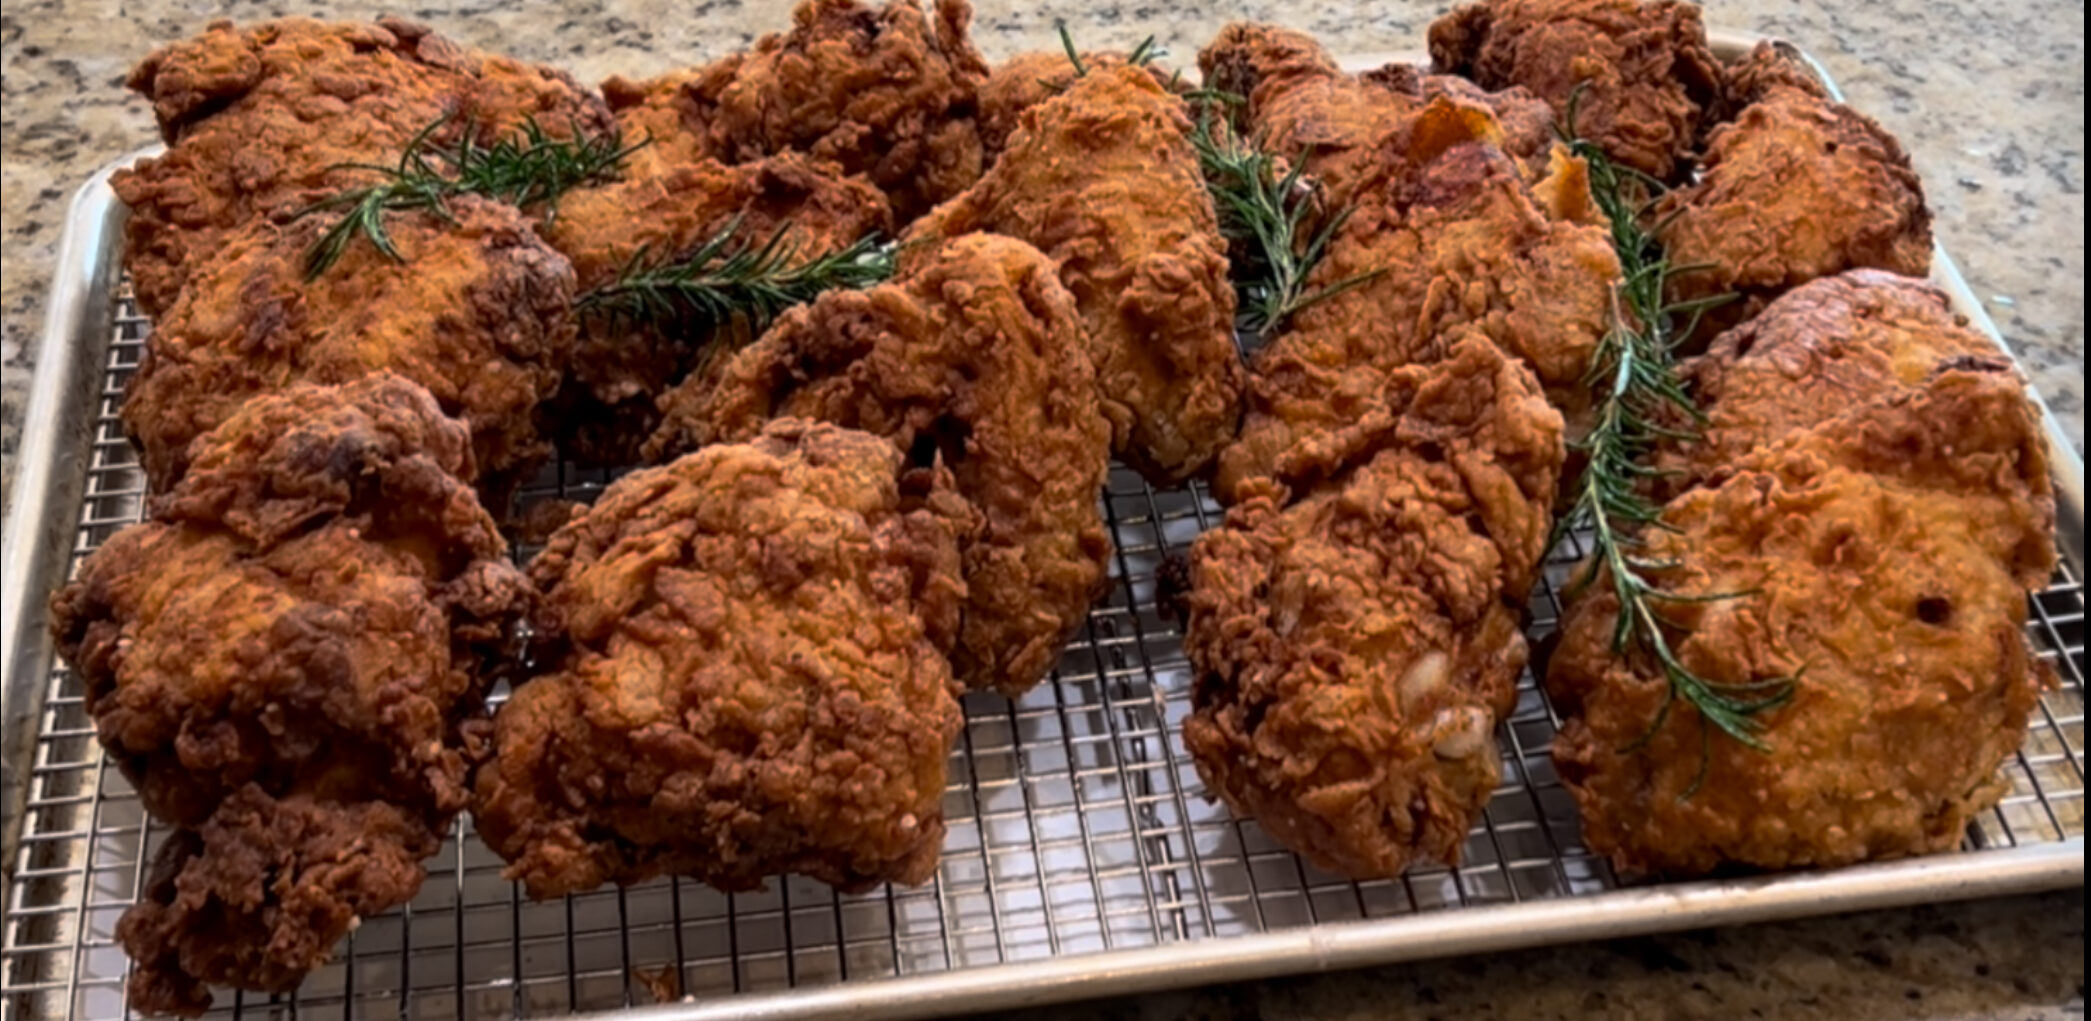
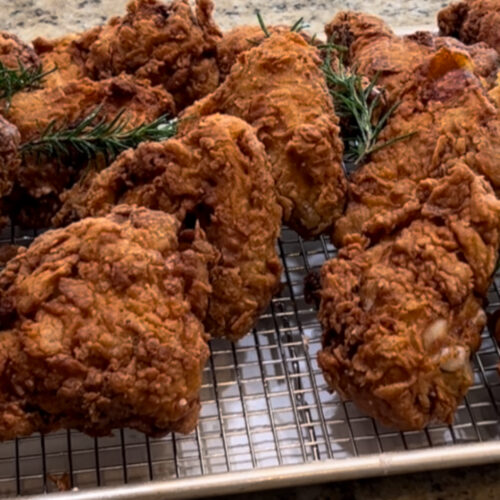
- Arrange the chicken on a serving platter. Add the herb sprigs to the oil (which will still be hot) and let them cook and crisp for a few seconds, then arrange them over the chicken.
Notes
- Note on chicken size: You may need to go to a farmer’s market to get these small chickens. Grocery store chickens often run 3 to 4 pounds. They can, of course, be used in this recipe but if chickens in the 2 ½- to 3-pound range are available to you, they’re worth seeking out. (Pssst, my chickens were about 3 ½ pounds each, but still yielded excellent results).
- Note: We let the chicken rest 7 to 10 minutes after it comes out of the fryer so that it has a chance to cool down. If the chicken has rested for longer than 10 minutes, put the tray of chicken in a 400°F oven for a minute or two to ensure that the crust is crisp and the chicken is hot.
- Adapted from Ad Hoc at Home
This buttermilk fried chicken recipe rewards patience, especially during marination, where flavor and tenderness fully develop. Once fried, the chicken delivers a satisfying balance of crisp texture and juicy interior. It pairs perfectly with traditional comfort sides or can stand alone as a centerpiece for casual entertaining.
For the best results, allow the fried chicken to rest briefly after cooking with the aromatic herbs, so the crust stays crisp while the juices settle and the aromas permeate the crispy chicken pieces. This simple step helps preserve texture and flavor before serving.
Serve buttermilk fried chicken hot with classic sides like biscuits, slaw, or mashed potatoes. This recipe also works beautifully for gatherings, comfort meals, or elevated weekend cooking.
Explore more comfort food recipes.
Leave a Reply