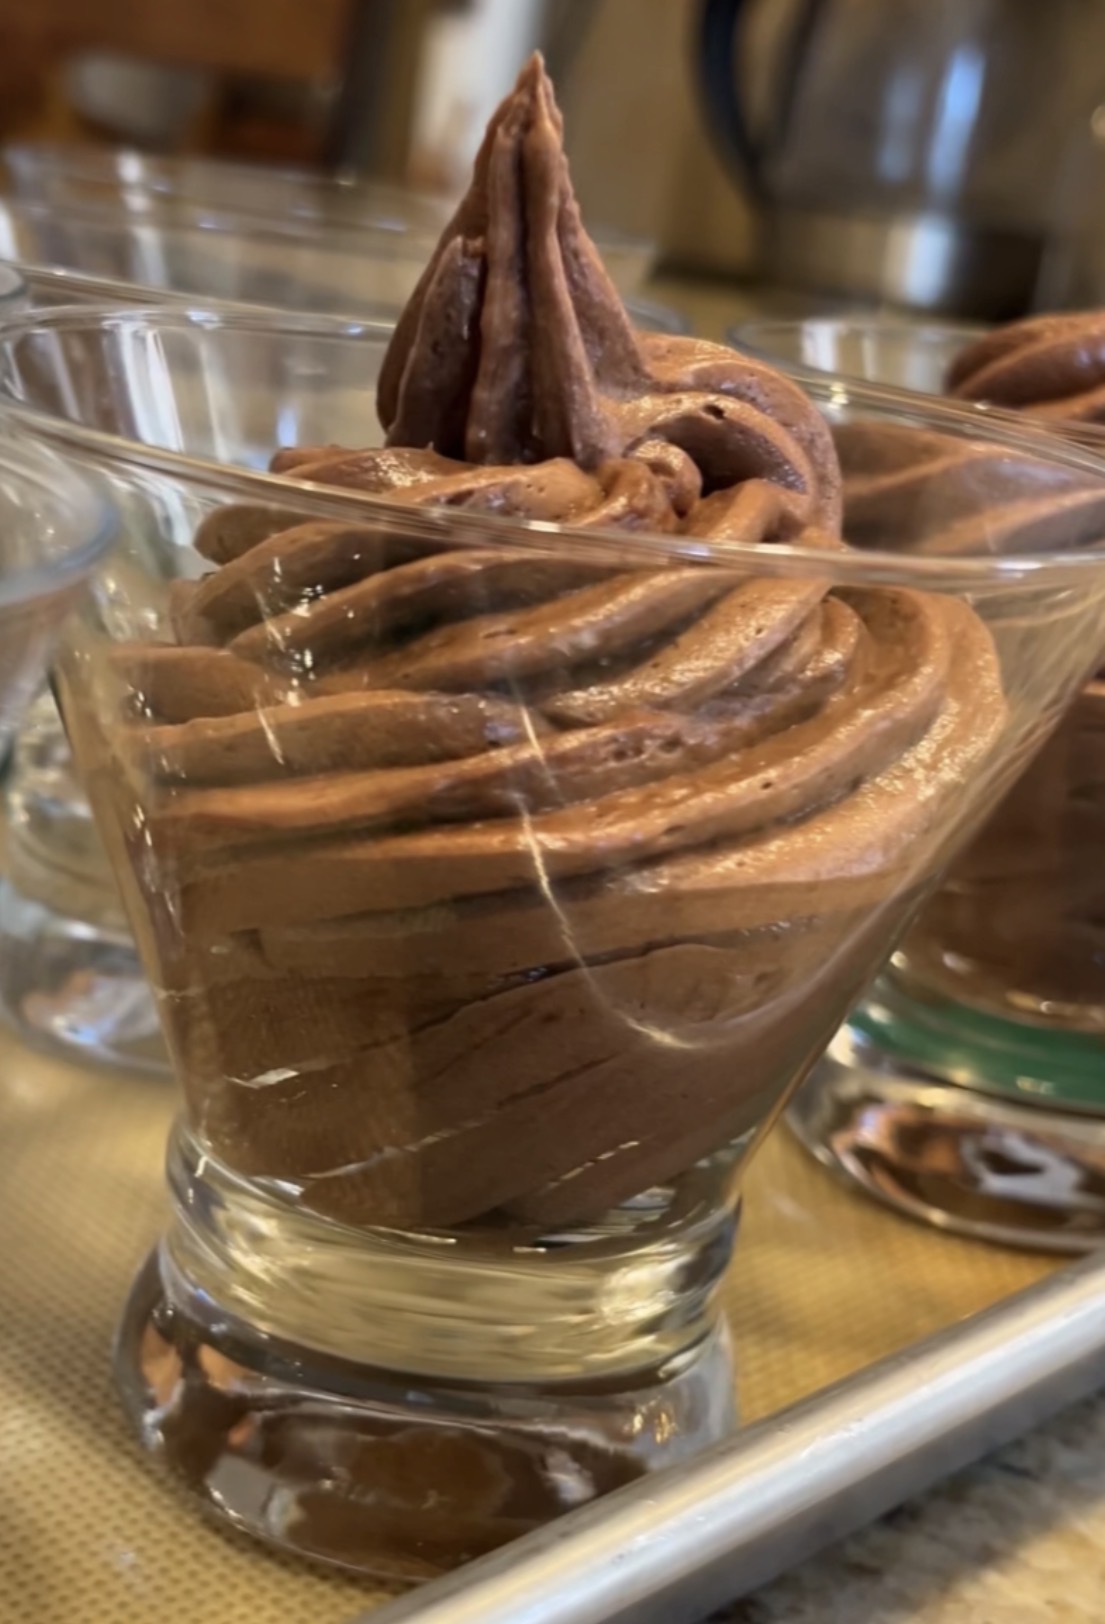

How to Make Classic Chocolate Mousse Recipe
This classic chocolate mousse recipe is rich, smooth, and deeply chocolatey with a light, airy texture. It’s a timeless dessert that feels elegant but is surprisingly simple to make at home.
With just a few ingredients, this classic chocolate mousse recipe delivers a perfect balance of intensity and softness. Whether you’re serving it for a dinner party or a special treat, it’s a dessert that always impresses.
This classic chocolate mousse is all about balance between richness and texture.
Classic Chocolate Mousse
Equipment
- 1 Double Boiler Bain Marie
Ingredients
- 7 ounces Dark chocolate, 70% + cacao Belgium prefered
- 4 ounces unsalted butter
- ¾ cup heavy cream
- 4 large eggs 150 g, separated
- ½ teaspoon Diamond Crystal kosher salt; for table salt use half as much by volume
- ⅓ cup granulated sugar
- 2 tbs[ water
- Whipped cream for serving (optional)
Instructions
For the Mousse
- Heat a pot over medium or medium high heat, with about 2 – 3 inches of water. Bring it to a simmer. This will be used as a double boiler / bain marie, for the yolks.
- Place the chocolate, butter, and salt in a microwave safe bowl, and microwave it in 20 – 30 second intervals, stirring in between. When the chocolate chips are about 75 – 80% melted, stir the chocolate butter mixture until all of the chocolate is melted. Set aside until needed.
- In a large metal bowl, place the egg yolks, water, vanilla, and 1/2 of the sugar. Whisk to combine. Place the bowl over the pot of simmering water. Heat the egg yolks to 170°F while constantly whisking. Once heated, remove from the heat.
- Add the butter and chocolate mix into the egg yolk mix. Mix until well combined and then set aside.
- Whisk the egg whites until they are glossy and you have mid peaks. Mid peaks is beyond soft peaks, but not quite at stiff peaks.
- Add about ¼ of the egg whites to the chocolate yolk mix, and mix it in to “loosen” the chocolate base.
- Add the rest of the egg whites and carefully fold it in, until it’s about 70 – 80% mixed through (some egg white streaks are still visible). Set aside.
- Add the heavy cream into the same bowl that you used to whisk the egg whites. Whisk until you have soft peaks.
- Add this cream to the chocolate mousse base and fold it in until mixed through.
- refrigerate for at least 1 hour if you will be piping
- Place the chocolate mousse in a shallow dish, or divide between 6 individual serving dishes.
- Cover with plastic wrap and let it chill for at least 4 hours
To Serve
- Remove the chocolate mousse from the fridge about 30 – 45 minutes before serving. For best flavor, the mousse should not be completely chilled (which dampens the chocolate flavor), only a little cold.
- Top it with shaved chocolate, fresh berries or whipped cream, and serve.
A great chocolate mousse recipe depends on technique. First, the chocolate should be melted gently and allowed to cool slightly before combining with the other ingredients. This prevents the mixture from becoming too dense and helps maintain a smooth consistency.
In addition, the key to the signature airy texture is incorporating whipped cream or egg whites carefully. Folding the mixture gently keeps the mousse light while still holding its structure. Rushing this step can deflate the mousse and affect the final result.
This chocolate mousse recipe can be made ahead of time, making it ideal for entertaining. Chill it for several hours to allow the flavors to develop and the texture to set properly. Serve it on its own or with fresh berries or whipped cream for contrast.
Texture is what makes a great chocolate mousse stand out. It should feel light and airy while still delivering deep chocolate flavor. Achieving that balance comes from careful mixing and proper chilling time.
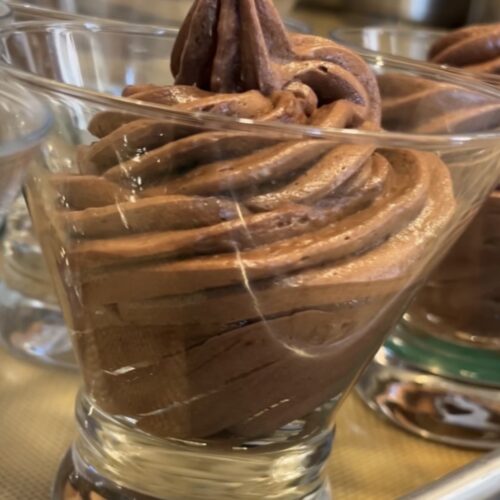
This dessert also benefits from simple presentation. Serve it in small glasses or bowls and finish with a light topping like whipped cream, shaved chocolate, fresh berries and a sprig of mint. A well-made mousse doesn’t need much to shine.
Explore more dessert recipes in our collection
Learn more about the history and technique behind chocolate mousse.
Leave a Reply